Your property’s online listing photographs can often be the difference between a flood of viewings or a real lack of action from potential buyers.
Whether your agent is taking photographs, you’re bringing in a professional, or you’re taking images yourself, the most important part of your property’s online sales listing is the images.
So, ensuring your home is presented in the best possible light is crucial.
Preparing your home for interior property photography
Putting in the effort to stage your home ready for marketing photographs will pay dividends when your property listing goes live on the major portals like Rightmove and Zoopla.
Rightmove recommends at least seven images on a property listing and there’s no doubt properties with stand-out images get far more traction online.
Here’s what you should do to ensure your property is ready for professional photography…
1. Make sure it’s clean and tidy
Your first task before a photographer visits to take pictures of your home is to thoroughly clean and tidy up from top to bottom.
You should also remove any day-to-day or personal items to maximise the feeling of open space.
When searching for a new home people hope to imagine the life they could be living within the property, so by removing as many personal items as possible you’ll allow buyers to imagine their own belongings in the space.
2. Remove clutter… but not everything!
While a reduction in clutter creates a more open feeling of a house ready to move in to, it’s equally important that the house doesn’t look empty or uninviting.
This is where staging or dressing the property adds the finishing touch. Once your dining or coffee table is clear and clean, an arranged vase of flowers or bowl of fresh fruit adds a homely yet impersonal focal point for photos.
Equally important for quality photography is the amount of light which should, wherever possible, be natural.
Ahead of the photo shoot, ensure that all curtains and blinds are fully open and tied back.
Lights and lamps should be left switched off, except for rooms with no windows or if your photos are being taken in the evening.
Just before the photo shoot you’ll also want to ensure that all TV and computer screens are switched off and pets are kept out of shot.
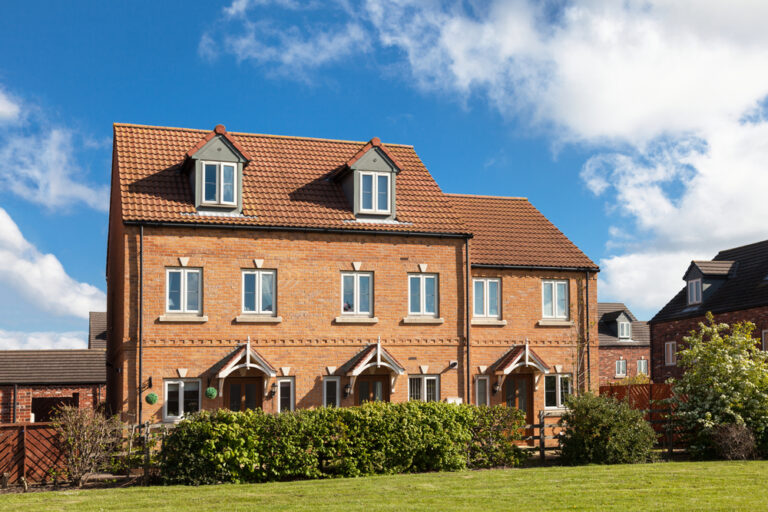
3. Tidy up your home’s exterior
You’ve probably heard of curb appeal.
Well, there’s such a thing as digital curb appeal, too, and it’s important to wow buyers when they’re viewing your home online as much as it is when they arrive outside for a viewing.
Like the interior, prepare the outside of your home for a photo shoot by focusing on making things tidy and removing unnecessary clutter to maximise the sense of space.
You’ll want to ensure the garden is in good shape with a freshly mowed lawn and well-maintained plants.
Any decking or patio areas should be brushed or cleaned appropriately, too.
Garden tools and equipment – including hoses, toys, bikes, and sports equipment – should be stored away out of sight. The same goes for wheelie bins. Outdoor furniture should be cleaned with any covers removed and stored away, too.
Finally, you may consider moving your car from the driveway or front of the property if it is likely to block the view of the house in any photographs.
4. Present the perfect kitchen
For many buyers, the most important room in any property is the kitchen.
So, presenting it well ahead of your property photo shoot is key.
In addition to a thorough clean, it’s worth considering removing small appliances and kitchen objects which have found their permanent home on work surfaces and counters.
Knife blocks, chopping boards and dish racks should be removed if possible to maximise space, with one or two appliances, such as a coffee machine, bread maker or slow cooker, left in place.
Personal items such as fridge magnets and children’s drawings, photographs, cleaning products, brooms, and mops should be stored out of sight, as should waste bins.
The kitchen is a great area to place a bowl of arranged fresh fruit as a focal point for photographs.
5. Showcase the rooms that make your home stand out
Rooms for dining and home offices are hugely popular with buyers.
So, if your property offers them those kinds of spaces, you’ll want to show them off in the best possible light online.
Dining rooms
Arrange chairs neatly and symmetrically for the best dining room photographs.
You should also remove any clutter or personal items, while adding a vase of fresh flowers can add a pop of colour to the photographs
Home offices
Ensure your home office looks like a comfortable space, with plenty of room and storage.
Remove clutter, but show off the storage solutions you have, such as shelves and drawers, so buyers can visualise themselves working in the space.
6. An inviting living room
Another hugely important room in the eyes of buyers is your living room.
It’s also a room that you can stage for your photographs, so it looks inviting, cosy, and comfortable.
Hide away any stray wires and remove items like magazines, TV remote controls, and toys.
Plump up cushions and arrange throws neatly over your sofas.
And don’t forget that vase of flowers on the windowsill or coffee table as a finishing touch.
7. Think size when it comes to bedrooms
The rooms that buyers are often disappointed with when searching for properties online are small bedrooms.
Whatever the size of your bedrooms, there are steps you can take to help them feel spacious and open in your property’s online photographs.
Remove all unnecessary items to create more floor space – the more floor buyers can see, the bigger the room will appear in the photos.
Store away any items of clothing and remove personal items from surfaces, giving everything a good clean.
As your bed is the focal point of the room, dress it to look comfortable and inviting.
Arrange pillows neatly and add some cushions and a throw, ensuring anything stored under the bed is out of sight of the camera.
8. Cleanliness is key in your bathrooms
When staging your bathrooms for photographs, pay particular attention to cleanliness.
Polish taps and mirrors so they gleam against the flash of the camera and remove items like toilet brushes, bins, and toilet rolls prior to the photo shoot.
What is the best way to take pictures to sell your house?
The best way to guarantee professional photographs of your property is to use a professional photographer.
However, if you’ve decided to take the photographs for your property’s listing yourself, follow these great tips…
1. Always use a tripod and a DSLR camera
Stability is key to taking a sharp, clear picture, so always use a tripod.
And although mobile phone camera technology has excelled, there’s no substitute for a professional DSLR camera when it comes to property photographs.
2. Use a wide-angle lens
The right equipment will help you capture the best of your property – and a wide-angle lens is a great way to showcase the space.
Wide-angle lens fit more into the shot and can help create a feeling of space.
Plus, because our eyes see things in a wide angle, using a lens like this will actually provide an accurate image of your property.
3. Set up your camera properly
How you set up your digital camera can make a big difference and avoiding having to resize or crop images before they appear online will help keep their quality at a high level.
Set up your camera so it:
- Saves images as JPGs rather than RAW files
- Saves images at a resolution of no less than 4000 pixels wide
- Takes images at 12 megapixels, which will provide a great balance between file size and image quality
4. Take photos like a professional
By using certain techniques, you’ll be able to produce professional-quality images of your home:
Landscape photographs always look better online, so don’t take portrait shots of your rooms
To help create straight lines and keep walls vertical, shoot from waist height rather than head height
Capture rooms with a wide-angle lens by shooting through an open door with the door frame on either side of the shot
Don’t be afraid to take close-up shots of unique items like ornate fireplaces or other period features
5. Edit your photos before they go live
Even if you’ve set up your home and equipment to take the perfect photograph, you may have to do some basic editing before your listing goes live.
- Increase the brightness and/or contrast if your image feels ‘flat’
- Straighten up any shots that appear wonky
- Crop items out of shots if needed
Further reading…


