With spring just around the corner, it’s a great time to start thinking about spring cleaning your rental property.
Whether you’re in the middle of your tenancy, or it’s coming to an end and you need to deep clean ready for your check-out inspection, a spring clean can really bring your home back up to scratch.
But where do you start?
This spring-cleaning checklist for tenants can help…
What is spring cleaning?
The term ‘spring cleaning’ actually comes from a time when homes were almost all heated with open fireplaces.
To keep the heat in, windows were kept shut during cold winters, but as soon as spring and warmer weather arrived, those windows were opened up, homes were aired through and the winter grime was cleaned away.
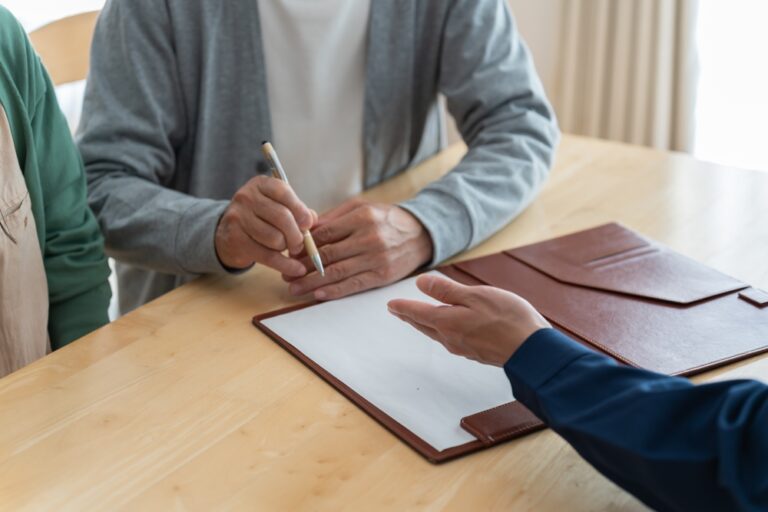
Do tenants have to pay for professional cleaning?
Since the Tenant Fees Act came into force in 2019, landlords are not permitted to insert clauses in tenancy agreements that state tenants must organise a professional clean at the end of their rental period. However, your landlord can request a deduction from your deposit to pay for professional cleaning if the property is not cleaned to the level it was when you moved in.
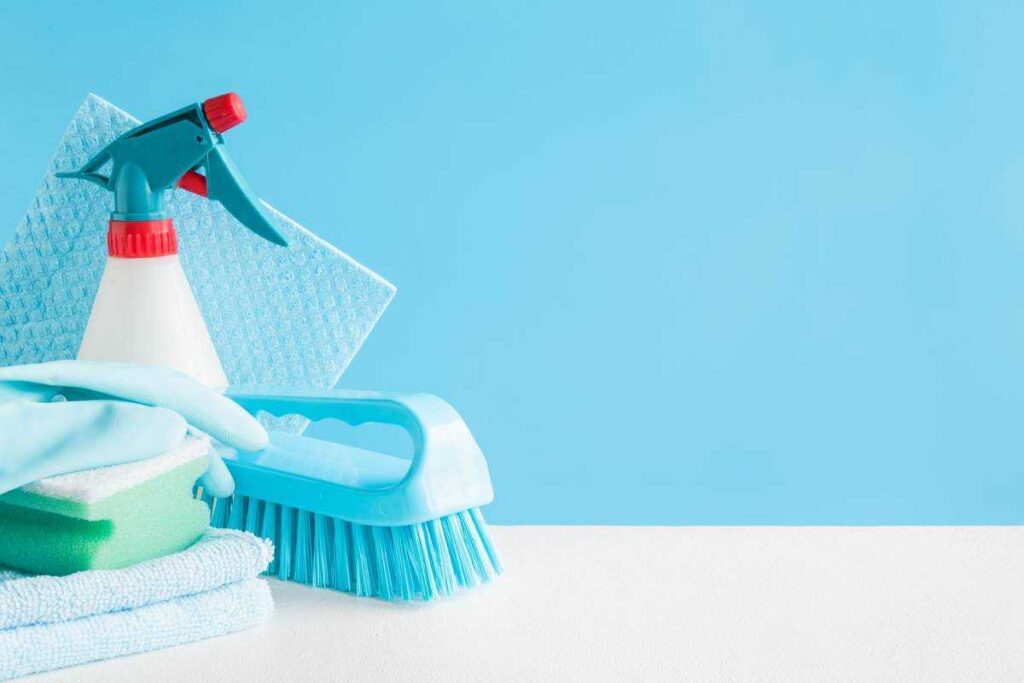
Tenant cleaning: Your room-by-room checklist
The best way to tackle spring cleaning your rental property is room by room.
We’ve compiled a tenant cleaning checklist below that will help you get your rental home gleaming…
Kitchen
The kitchen is often one of the toughest places to clean in your rental property, but with a structured approach, you can get it looking fantastic…
• Open the windows
• Spray and wipe down all counters and work surfaces
• Spray and wipe the hob
• Scrub the sink and drip-drying area with a limescale removing spray
• Wash or clean used crockery, cutlery and glassware in the dishwasher
• Wipe down all doors and handles
• Clean the exterior of your oven door with a multi-purpose spray
• Clean and scrub the inside of your oven
• Empty your fridge and / or freezer and clean down the inside
• Dust the top of the fridge and the tops of all cabinets
• Wipe down the inside of all cabinets and drawers
• Run a dishwasher cleaning cycle
• Clean and polish any windows
• Wipe down light switches and door handles
• Sweep, vacuum and mop the kitchen floor
Bathrooms
Along with kitchens, bathrooms can retain the most dirt and grime. Here’s what you need to do to get the shine back…
• Open any windows
• Spray, wipe and wash out the bathtub
• Spray down all basins, pedestals and taps and wipe away any scale or dirt
• Shine mirrors
• Wipe down the exterior and interior of cabinets and drawers
• Clean and scrub your shower with a limescale remover, paying attention to tiles and grout
• Vacuum any extractor fans to remove dust build-up
• Sweep or vacuum the floor and mop or polish with floor wipes
• Clean and polish any windows
• Wipe down light switches and door handles
• Clean down the toilet with anti-bacterial spray and bleach the inside
Bedrooms
Bedrooms can be havens for dust build-up, so you’ll need to pay particularly close attention to this when getting yours clean…
• Open the windows
• Remove all bed linen and wash
• Dust all surfaces, ceilings and walls thoroughly, starting from the top and working your way down
• Wipe down any picture frames
• Clean all furniture using a multi-purpose spray
• Clean and polish the inside of your bedroom windows
• Remove lamp shades and wipe down before re-attaching
• Deodorise your mattress by sprinkling baking soda on it and leaving for at least 15 minutes before vacuuming off
• Wipe down light switches and door handles
• Thoroughly vacuum the carpet, or sweep hard flooring before mopping
Living room
Like your bedrooms, your living room can be affected by dust build-up, while carpets can become dirty…
• Open the windows
• Dust ceilings and walls, working your way from top to bottom
• Dust and wipe down all furnishings, pictures and wall-hangings
• Take down any light fittings or shades and give them a wipe before re-fitting
• Remove items from shelving or from inside any units and dust them
• Wipe down the inside of cupboards and units and dust the tops of shelves before returning any items
• Dismantle sofas and chairs and vacuum thoroughly
• Remove curtains and either wash or dry clean
• Dust and wipe down curtain poles and dust in between blind slats or shutter louvres
• Clean and polish the inside of all windows
• Wipe down light switches and door handles
• Vacuum carpets and sweep hard flooring before mopping
Communal areas
Hallways and stairs in any property get a lot of traffic, so it’s important to be thorough when cleaning these areas…
• Dust ceilings and walls, starting from the top and working your way down
• Dust and wipe down any wall-hangings or pictures and clean and polish mirrors
• Remove light fittings or shades and wipe down before re-fitting
• Dust any curtains or blinds / shutters, including in between the slats / louvres
• Dust any units or furnishings and wipe through the insides
• Wipe down light switches and door handles
• Clean and polish all windows
• Vacuum carpets and sweep hard flooring before mopping
Outside
Winter takes its toll on your rental property’s exterior, so now is the time to get outside and give everything a good clean…
• Remove debris and detritus from drains and around downpipes
• Hose down the garage door
• Clean the exterior of your property’s windows, including the ledges and frames
• Pressure wash or hose down patios, driveways and paths to remove any ‘greenness’ or moss build-up
• Clean down any furniture
Further reading…
Damp and condensation can be a big problem in rental properties, but there are plenty of steps you can take to stop it taking hold. Our guide explains everything you need to know.